Asphalt pavement is commonly installed on residential and commercial properties. It is durable, low-maintenance, and relatively affordable. However, asphalt can become cracked and damaged over time, requiring maintenance and occasional repairs.
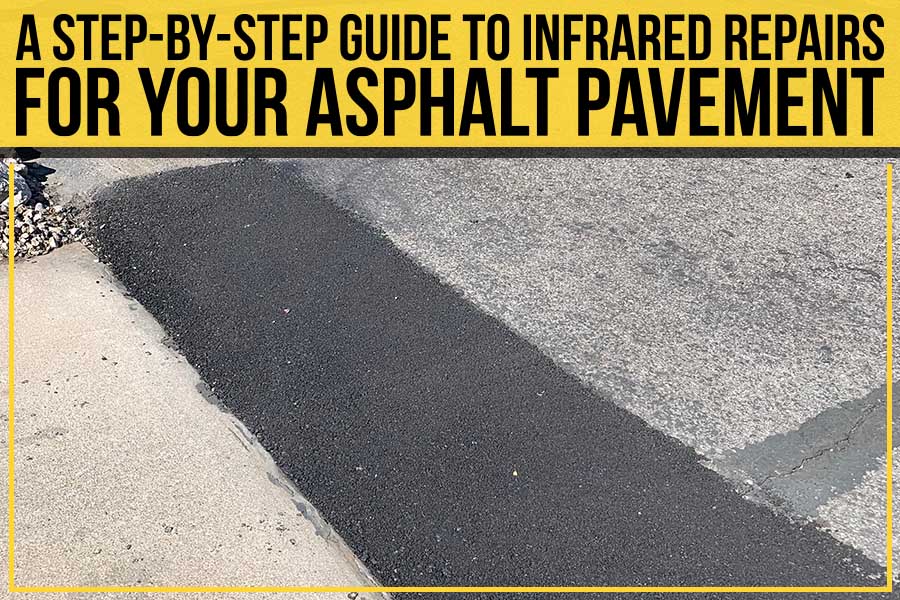
This blog post by Black And Yellow Pavement Inc. will outline a step-by-step guide to repairing your asphalt pavement using infrared repair (IR) technology. So, if you are experiencing any problems with your driveway or sidewalk, read on!
Step # 1: Identify the Source of the Problem:
If you have an asphalt pavement problem, the first thing you need to do is identify the source of the issue. Is there a crack in the pavement? Are there areas of the pavement that are raised or sunken? Once you’ve identified the problem, you can begin to repair it.
Step # 2: Remove Debris or Vegetation:
Once you’ve identified the problem areas, removing debris or vegetation presents the next step. It includes things like leaves, twigs, and branches. You’ll also want to remove any weeds in cracks or other problem areas.
Step # 3: Remove Oil or Fuel Stains:
If oil or fuel stains are present, you’ll need to remove them before beginning repairs. The best way to do this is with a commercial degreaser. Apply the degreaser to the stained areas and let it sit for several minutes before scrubbing with a brush.
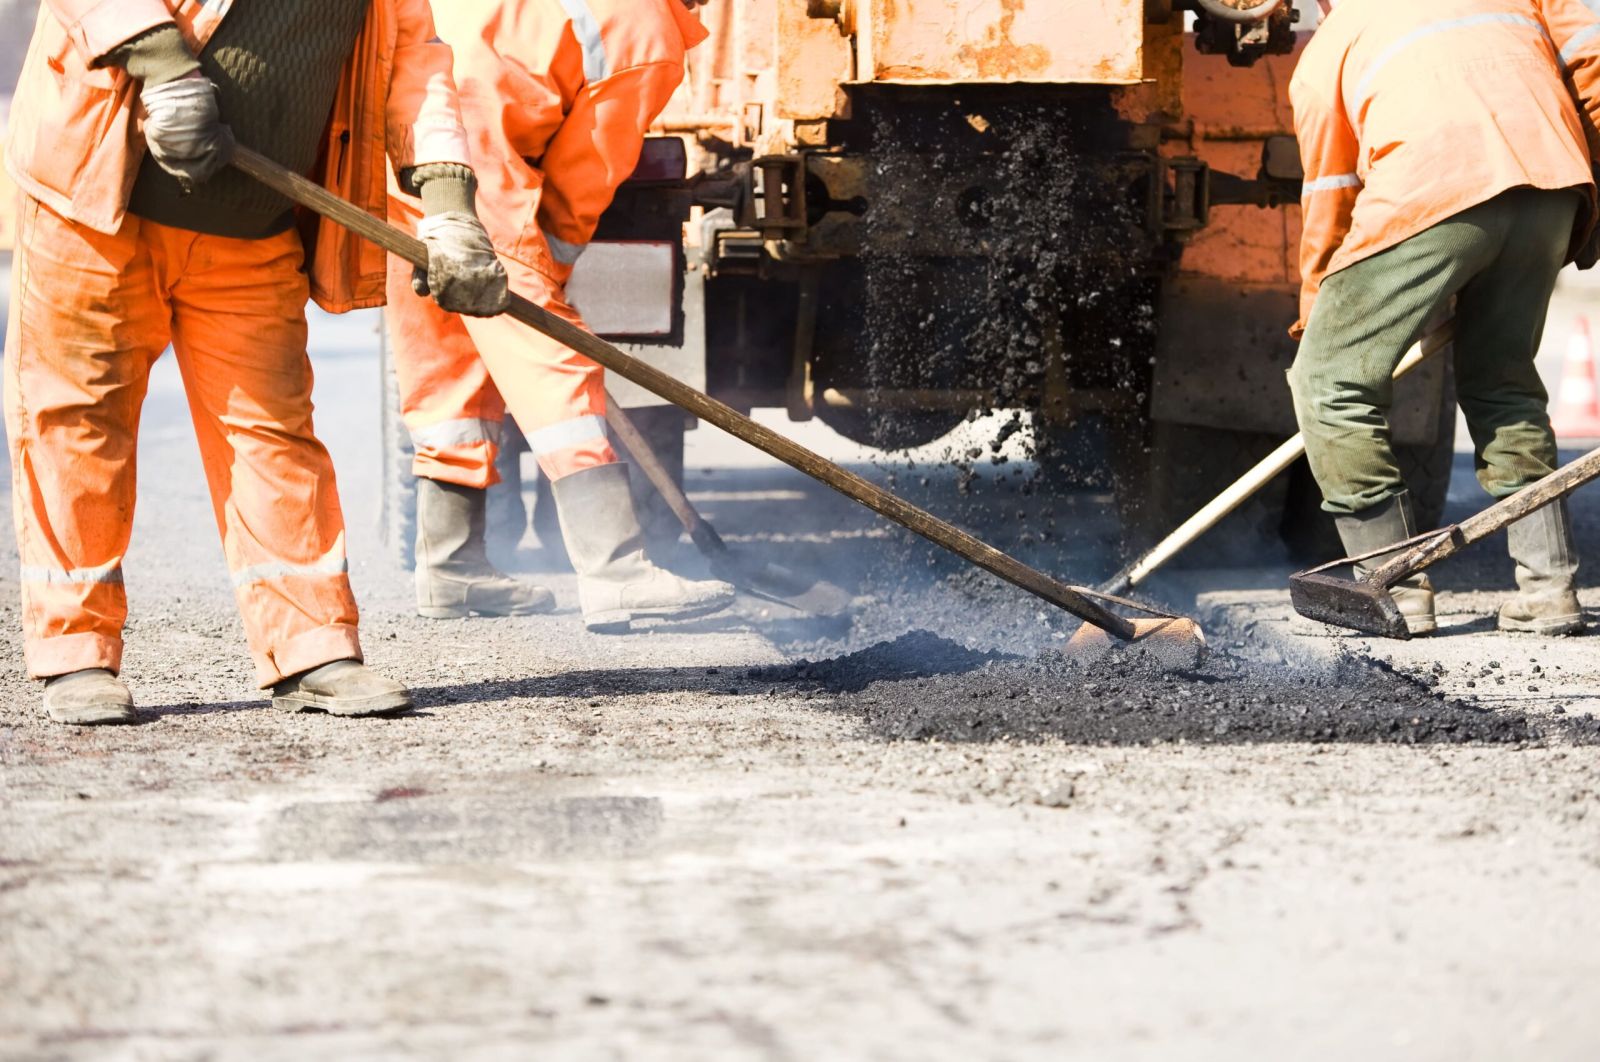
Step # 4: Heat the Asphalt:
Now it’s time to start the repair process! The first step is to heat the asphalt with an infrared heater. You can rent one from a hardware store or home improvement center if you don’t have one. Get the asphalt heated to 375 degrees Fahrenheit to work wonders.
Step # 5: Pour it on the Damaged Area:
Once the asphalt is heated, you can pour it into the damaged area. Spread the asphalt with a putty knife or trowel to ensure even coverage.
Step # 6: Compact Firmly:
After applying the asphalt, you’ll need to compact it firmly. You can accomplish this with a hand tamper or by driving over the area with a vehicle. It’s important to spread the heated asphalt evenly on the surface and compact it firmly to ensure a durable repair.
Step # 7: Let It Cure:
Now that you’ve repaired the damaged area, it’s time to let it cure. This procedure can take up to 24 hours, so be patient! Once the asphalt has cured, you can enjoy your new driveway or sidewalk.
Step # 8: Inspect It:
After the repair has been cured, inspecting it’s always a good idea. Make sure there are no crevices or divots on the surface. If everything looks right, then you’re all done! Congratulations on a job well done.
So, there you have it—your complete guide to repairing asphalt pavement through infrared technology. As you can see, repairing asphalt pavement is a process that takes time and precision.
However, it’s a job that Black And Yellow Pavement Inc. is more than capable of handling for you. We have the proficiency and expertise to make your asphalt pavement look good as new in no time.
If you’re in Toronto and are interested in acquiring our services, get a free estimate!